
6 Quick and Easy Ways to Make Coffee While Backpacking
/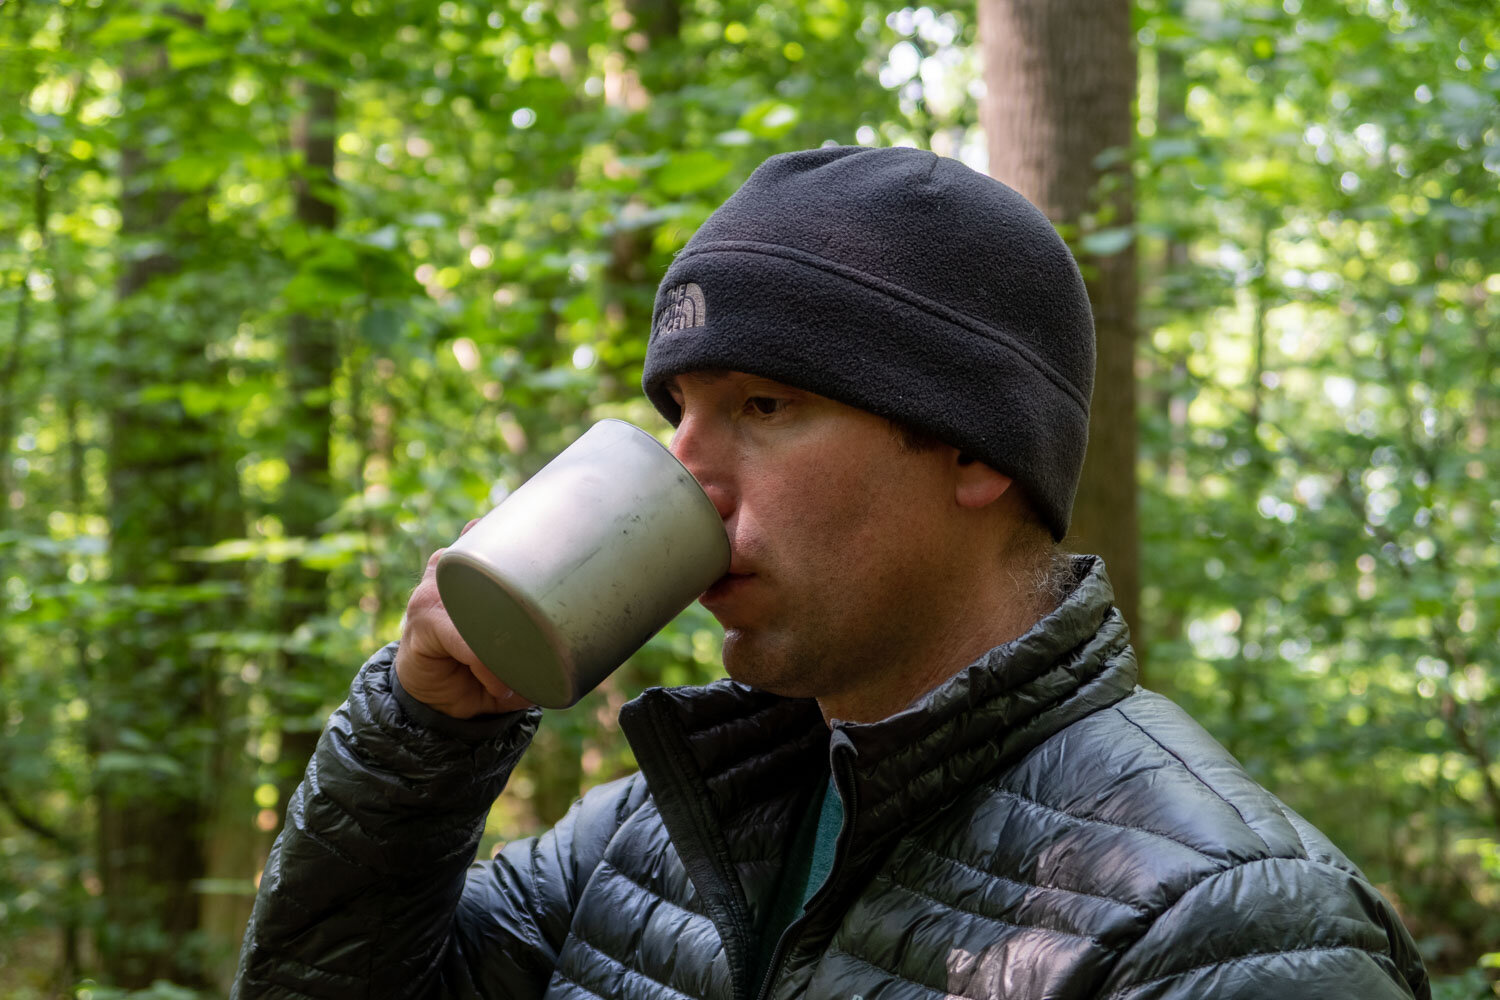
After hiking many miles over challenging terrain, the next morning can be difficult to get moving again. As a result, many backpackers, including myself, turn to coffee to give ourselves a necessary boost in energy.
However, if you're new to backpacking, you may wonder, how can I make coffee while backpacking? Because, in the backcountry, you can't just simply bring your favorite coffee machine from home with you.
Or maybe you're a more experienced backpacker and trying to find a better way to make coffee. Either way, this article is for you. In it, I will discuss in detail six ways to make coffee that are quick and easy for backpackers.
1. Instant Coffee
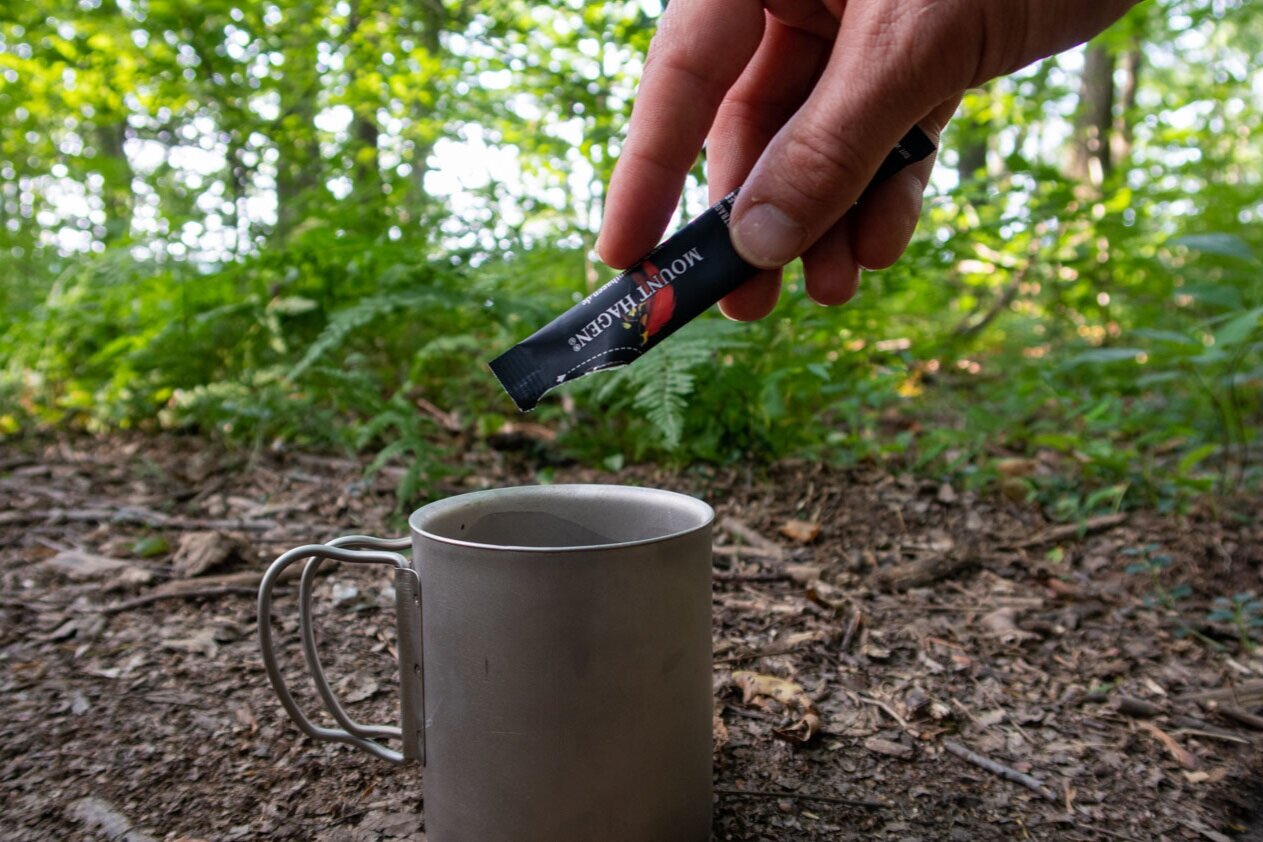
Instant coffee has always been a popular choice among backpackers. A big reason why is because compared to other methods, instant coffee is by far the quickest and easiest way to brew a cup of joe in the backcountry and get your caffeine fix.
All you need is a cup, water, a coffee packet, and something to boil the water with. That’s it. In fact, if you don't mind cold coffee, you can simplify the process even further by omitting the step of boiling water.
For those who are particularly weight-conscious with their backpacking gear, this method is perfect for you since the only additional weight you'll need to carry is the instant coffee itself.
Brewing Process:
Boil water (check the amount needed on the label of your instant coffee)
Pour the instant coffee into your cup
Add boiling water to your cup
Stir to help dissolve the coffee
Wait for the coffee to cool
Drink away
When it comes to instant coffee, you might be thinking, doesn't this type of coffee taste terrible. Well, surprisingly, there are some good-tasting options out there, even if you're somewhat of a coffee connoisseur. Listed below are a few of the best options out there.
2. Coffee in a Tea Bag
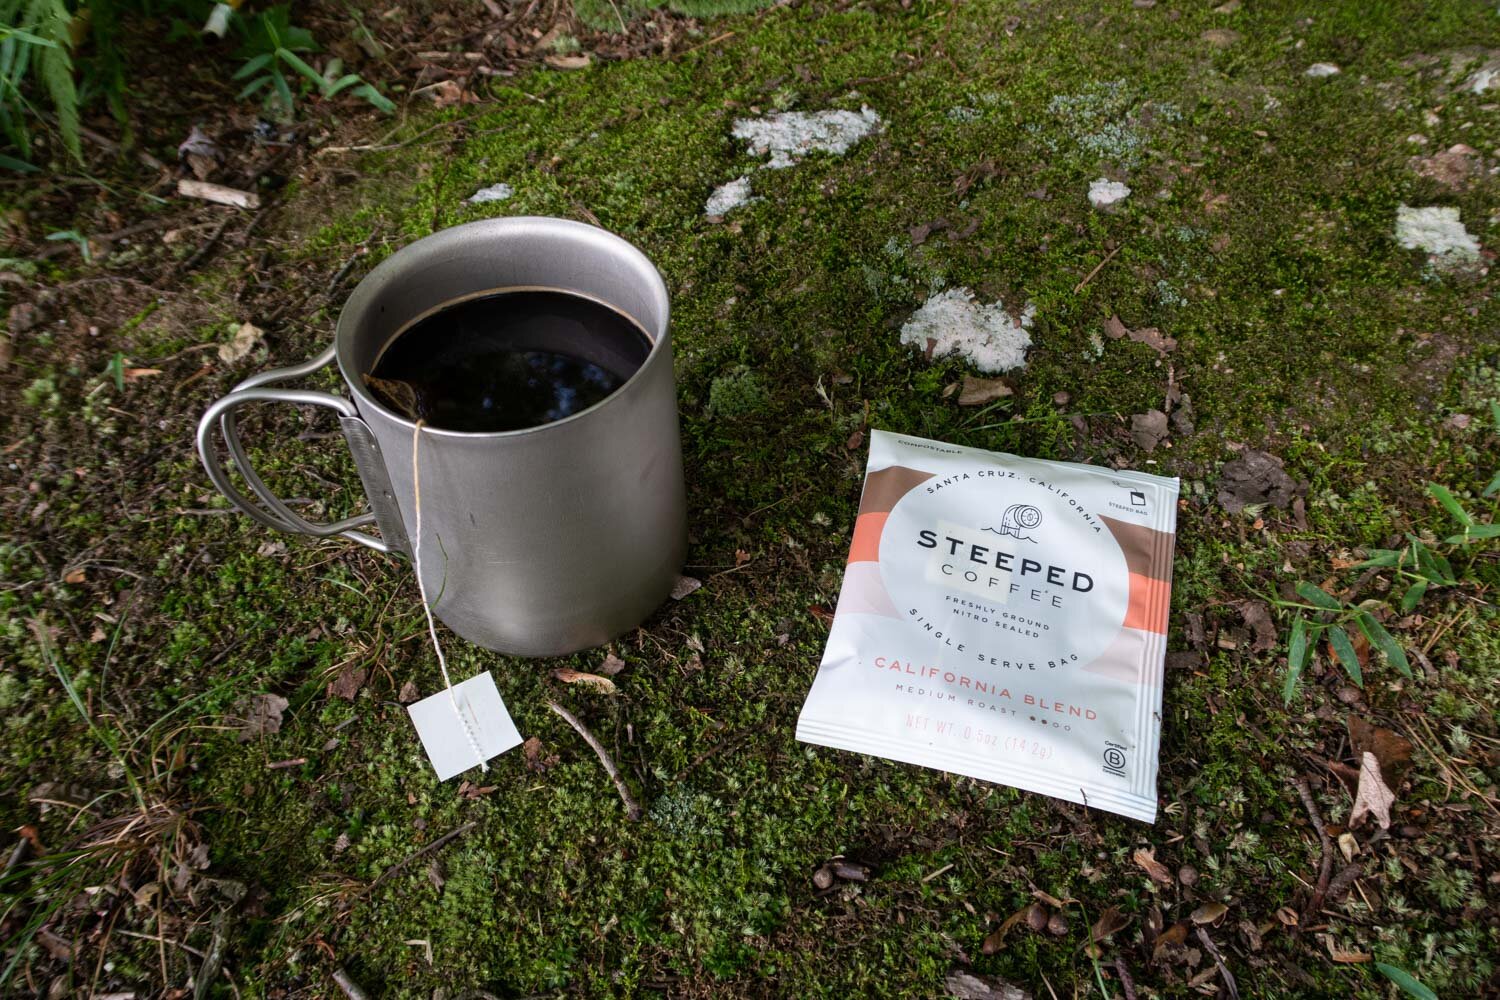
Another simple and effective option to make coffee while backpacking is with a tea bag. Yes, you read that right. Some coffee brands are offering ground coffee in tea bags that can be placed in boiling water to steep.
Like instant coffee, you don't need additional gear to make a cup of joe. All you need is the tea bag itself, which makes for another lightweight coffee option.
Brewing Process:
Boil water (check the amount needed on the packaging)
Pour the boiling water into a cup
Place the coffee bag into the cup and let it steep for a few minutes
Once brewed, remove the bag and drink away
Here are some notable brands that make a quality cup of coffee in a tea bag.
3. Pocket Pour-Over
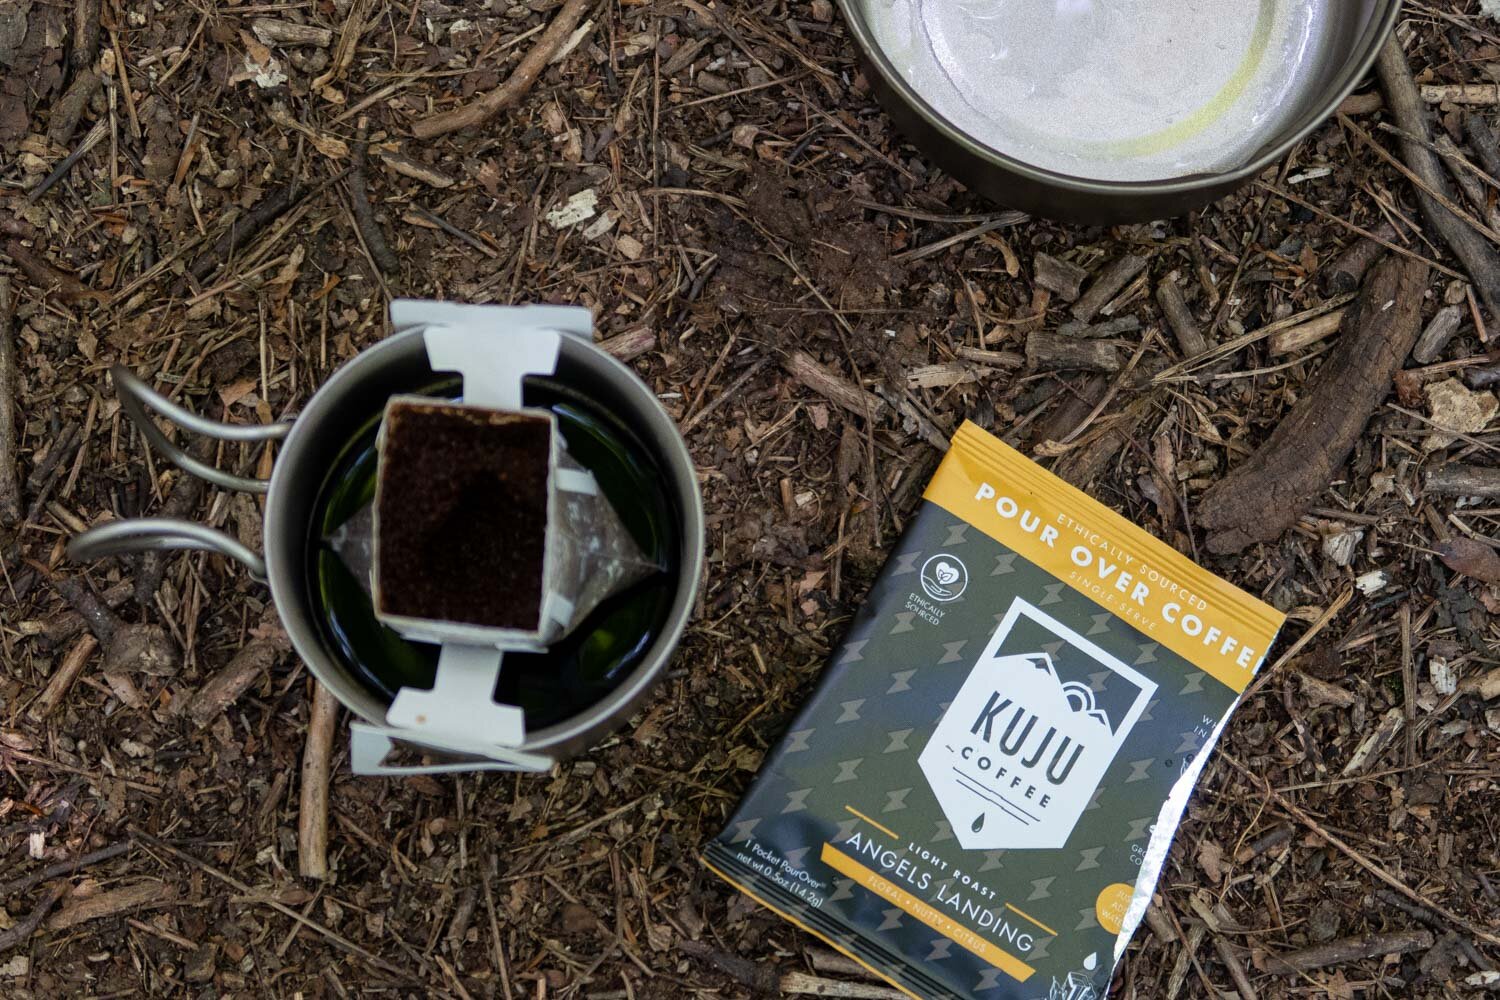
Compared to the first two methods of making coffee, Pocket Pour-Overs can produce coffee that tastes even better and with very little fuss. This is because everything necessary to make the coffee is contained in a tiny tea bag-sized packet.
Once you open the packet, the pouch containing the coffee unfolds and anchors onto the lip of your coffee cup. The whole thing is made out of paper and is designed to be used only once. Since the disposable pouch contains all the used coffee grounds, cleanup is effortless also.
Brewing Process:
Unfold the paper filter and anchor it on top of your coffee cup
Boil water
Slowly pour the boiling water over the coffee, making sure all the grounds make contact with the water
Wait until the water drains through
Enjoy!
Here are some of the best brands available on the market.

4. Pour-Over Stand
The Pour-Over stand method of making coffee can be easily confused with the Pocket Pour-Over method. As mentioned earlier, the pocket version is entirely disposable, whereas the Pour-Over Stand is reusable.
This method gives you the freedom to choose whatever coffee you want to use and therefore, gives you greater control over the quality, which is nice. In addition, the Pour-Over stands are usually very lightweight and pack down small when they're not in use. Because of all these things, the Pour-Over stand method is a solid option for backpacking.
Brewing Process:
Attach or place the Pour-over stand on top of your coffee cup
Place the ground coffee in either a paper or cloth filter (using a paper filter makes clean up a lot easier)
Boil water
Slowly pour the boiling water over the coffee, ensuring all the coffee grounds make contact with the water
Wait until the water drains through
Enjoy!
The following are the best pour-over stands available on the market today.
MiiR Pourigami Drip Coffee Maker (coffee filters sold separately)

5. AeroPress
The AreoPress device has quite a cult following in the coffee world. The patented airtight brew system presses the coffee through a filter. This process extracts all the flavor from the coffee grounds while stopping any oil and sediment from getting into your coffee cup. The result is a ridiculously good-tasting cup of joe.
Now making a quality cup of coffee like this comes at a price. You have to bring extra equipment to make it, like the AreoPress device itself. However, even though bringing this device backpacking will mean more weight in your backpack, many hikers feel it’s worth the sacrifice because it produces such good-tasting coffee.
One great attribute of the AreoPress device is clean-up. After you finish using it, you'll notice that it compresses the coffee grounds into a small puck, making clean-up easy and convenient for backpackers.
Brewing Process:
There are two options for brewing with the AeroPress device. They’re both super easy to do.
Traditional
Put the paper filter in the filter cap
Screw the filter cap onto the bottom of the chamber
Place the chamber on top of your mug
Add coffee inside the chamber
Pour boiling water and fill to about ¾ of the way up
Stir
Let it brew for a few minutes
Insert the plunger into the chamber and push down slowly until you reach the bottom and all the water has passed through to your mug
Enjoy
Inverted
Insert the plunger into the chamber and place the device upside-down
Add coffee inside the chamber
Pour boiling water over the coffee into the chamber
Stir
Let it brew for a few minutes
Grab the paper filter and put it into the filter cap
Screw the filter cap onto the chamber
Carefully flip the whole device right side up and place it on top of your mug
Push the plunger down slowly until you reach the bottom and all the water has passed through to your mug
Enjoy
AeroPress makes two different versions of their brew system. A Go Travel version geared more for backpacking and the classic version that’s slightly larger. Both systems are listed below.

6. Cook Systems With French Press Attachment
The french press method is a great way to make coffee. It produces a rich and fuller coffee flavor profile. Normally though, when backpacking, making coffee this way isn’t an ideal option because the brewing equipment is bulky and heavy.
However, some backpacking companies like MSR and Jetboil have created french press attachments for their integrated cook systems. So, if you’re already bringing a Jetboil or similar stove to cook with, then for just a few more ounces, you can make french press coffee.
One downfall to this method is that cleanup can be messy.
Brewing Process:
Boil water in your integrated cook system (Jetboil or MSR)
Pour coffee grounds into your cookpot
Stir
Attach the French Press attachment to the cookpot lid
Let the coffee steep for 3-5 mins depending on how strong you like your coffee
Push the plunger down to compress the coffee grounds to the bottom of the pot
Now that you have the coffee and grounds separated from each other. Remove the pot from the stove and pour the coffee into your cup
Enjoy
Here are links to the above-mentioned french press attachments for integrated cook systems.
My Preferred Way To Make Coffee
My preferred way to make coffee has to be the instant coffee method. It’s tempting to go with the Pocket Pour-Over method. However, you just can’t beat the simplicity and how quickly you can brew a cup of instant coffee. As a backpacker, they’re the most important considerations, especially when you’re trying to get back on the trail as quickly as possible in the morning and put in big miles for the day.
What To Do With Used Coffee Grounds
We all need to do our part and be good stewards of the earth and leave only footprints when we head off on our next great backpacking adventure.
Although it might be tempting to let nature deal with our coffee grounds, the acid in the beans can harm the environment. Additionally, coffee is very aromatic and can attract bears, which is the last thing we want hanging around our campsite.
So, please make sure to practice “Leave No Trace” and take all your trash, including coffee grounds, with you for the duration of the trip and dispose of them properly at a later time.
In Conclusion
As you can see, there are many options for making coffee when backpacking. The only challenge is trying to choose which coffee system will work for you. The key to picking the right one is to figure out what’s most important to you.
Are you a bit of a coffee connoisseur who requires a high-quality cup of joe? Then, it’s probably worth it to take a more elaborate brew setup like the AreoPress. Want to conserve space in your backpack and save time making coffee in the morning? Your best options are probably instant or coffee tea bags.
So, when you're planning your next big adventure, don't forget to bring coffee. It will help keep you energized to tackle whatever the trail puts in front of you.