
How to Safely Ford a River in the Backcountry
/
Whether you’re an experienced backpacker or a beginner, one of the most important skills that you can have is knowing how to safely ford a river. Going on a backpacking trip without such skills could result in severe injury or worse.
So in this article, I will guide you through the whole process of fording a river so you can remain safe and be able to have an enjoyable trip.
Plan for River Crossings Before Your Trip
To have a successful backpacking trip, planning is always required in order to accomplish that. Part of the planning process should be to identify on a map any river crossings that you might encounter on your route. This is important because it’ll help you know what to expect and prepare for.
When you see that there will be river crossings on your route, it’s necessary then to find out what the water levels are. The last thing you want to have happened to you is to go on a trip and have to turn around because the river crossings are too treacherous.
You can check the water levels by calling the park service, land manager, or a local outfitter in the area. You can also check the internet for websites that have updated reports on the trail conditions and weather for the region you’ll be hiking in.
Now that you know what to expect on your backpacking trip, you can now prepare for the river crossings by making sure you're bringing the appropriate gear to get across the river safely. The following is the gear I suggest you have when crossing any river.
Trekking poles: They provide stability when crossing. I recommend the Leki Makalu Lite Cork Trekking Poles because they have comfortable hand grips and a durable design.
Pack Liner: It keeps all your gear inside your pack dry, even if your pack gets wet. I recommend the simple, clear poly liner bags from Garage Grown Gear. They’re cheap and surprisingly durable.
Dry Bags: The pack liner overall protects your gear from getting wet. However, for the gear, you just can’t afford to get wet (electronics, sleeping bag clothes), it’s nice to have an extra layer of protection for these items. That’s where dry bags come in. You can store specific gear inside these dry bags and then put them inside the pack liner. I recommend the Sea to Summit Dry Sacks.
Trail Runners: For stream crossings, you’ll need good footwear that keeps you from slipping on rocks underwater and that can also dry quickly after you’ve crossed. I recommend the Altra Lone Peak 8 shoes.

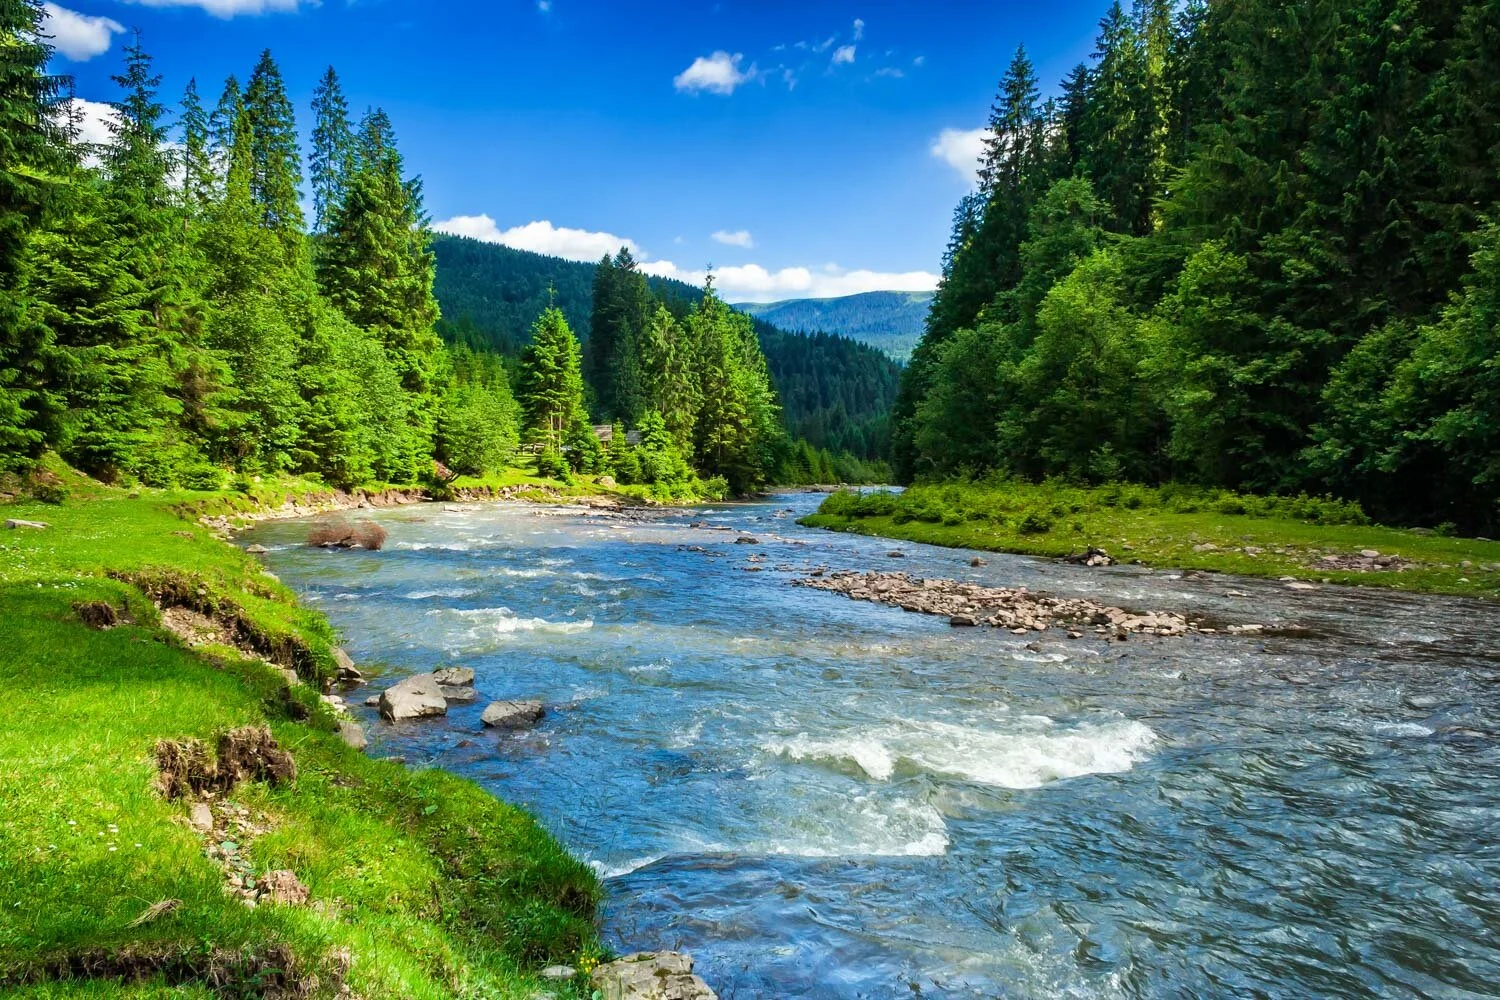
Find a Good Crossing Point
Now that you’ve planned for river crossings, now it’s important to understand how to choose a good crossing point. When reaching the river’s edge, you’ll need to take a few minutes and scout out the area so you can make sure that the spot where you’re crossing is the safest. Oftentimes it’s not always where the trail meets the water.
So then, what determines a good crossing point? Well, here are 3 things to look for to help you know whether a crossing point is safe or not.
Swiftness & Depth
Is the water flowing pretty quickly and at a depth that goes above your knees? If it is, then that’s not an ideal place to cross. In the event you can’t find a better crossing spot, your best bet may be to set up camp and try to wait for the water levels to go down.
If it’s a high elevation river that’s fed by melting snow, you may have to cross in the early morning when cold temperatures slow down the melting process and the rivers are flowing with a lot less water.
If the river’s water level is higher than normal because of a recent rainstorm, chances are the next day will allow enough time for the water to recede and the river will be safe to cross once again.
Width of the River
The width of the river is another important factor to take into consideration when finding a good crossing point. It’s natural to think that an area where the river narrows would make for a good crossing point, however, this isn’t the case. This narrow section is called a choke point and that’s where the current will be the strongest.
Instead, look for an area of the river where it’s wide and shallow. Here you’ll find that the current won’t be quite as strong.
Downstream Hazards
Another thing to look for is hazards downstream from your crossing point, like trees or branches that are in the water or sticking out from the bank.
These types of hazards are called strainers and if the crossing is a difficult one, you could potentially fall in the water and get swept downstream and pinned against one. Then the force of the current could suck you underwater and you could drown. If you see strainers downstream, it’s best to choose another place to cross.
Other hazards to look for downstream and avoid are boulders, dangerous rapids, and waterfalls.
Preparation Before Crossing
After fully scoping out the area and finding the right spot to cross, now you’ll want to make sure that you’re fully prepared to ford the river.
You can do this by checking to see if all your gear is inside the pack liner so nothing will get wet. In addition, anything that has significant value, like your electronics, should be put into a waterproof dry bag and then inside the pack liner for an extra layer of protection so that these items will definitely stay safe and dry when you cross the water.
In terms of your backpack, you’ll want to unbuckle your hip belt and sternum strap before you cross so you can easily remove your pack if you were to fall in the water. Otherwise, your pack can fill with water and weigh you down and increase your risk of drowning.
Clothing is another important aspect of crossing a river. You’ll want to avoid wearing pants that are overly baggy, as they could cause resistance when you get in the water. That’s why I usually wear shorts when I go backpacking. However, in the cooler months, when shorts aren’t an option, sometimes you can get away with rolling up your pants if the water level isn’t too high.
One thing you’ll want to do when crossing a river is keep on your shoes. This is because your shoes can help you have better traction on the river’s bottom and prevent you from stepping on anything that could cause injury.
With hiking boots, it’s not practical to wear them in the water as they take forever to dry out. Instead, wear trail runners. As I mentioned earlier, they do a great job of drying out very quickly.
Be sure to also have your trekking poles ready as well. They will help you maintain your balance as you cross the river.

Crossing Techniques
Now that you’re prepared to cross, now comes the tough part of actually crossing the river. There are many different ways to cross, but the techniques mentioned below are the most popular methods and taught in many classes.
Tripod or Quadpod Method
In this method, your two feet and trekking pole(s) form a tripod or quadpod to stabilize yourself when crossing the river. (see picture below)
To cross using this technique, start by entering the water facing upstream. Bend at your knees and slightly lean forward into the oncoming water having your trekking pole(s) in front of you for support.
Slowly shuffle sideways across the river making sure to only take small steps. Between your feet and the trekking pole(s) always have at least two points of contact with the bottom of the river.
You can reduce the amount of resistance from the current by moving across at a slight angle downstream while still facing upstream rather than just going straight across.
Group Crossing Method
If you’re hiking in a group and the river’s current is very strong, you can increase your safety by crossing together.
If just two people are in your group you can cross by having one person standing directly behind the other. The person that’s upstream or in front breaks the current, making for slower water behind them, and therefore allowing the downstream person to help everyone remain upright.
With three people in your group, you can use the triangle method. It involves all three people facing each other and linking arms with one another while shuffling across the river. This is an even more stable way to cross as a group.

What If You Fall In?
The worst-case scenario when fording a river is that you fall in. That’s why it’s important to have a plan set in place in case this happens. First of all, you’ll want to try to keep yourself from panicking. It might be easier said than done, but panicking will keep you from making good decisions.
Next, you’ll want to make sure that your backpack is off of your back as this can weigh you down. If the river’s current isn’t too strong, you can try to hold on to your backpack as you navigate to the shore. You can even possibly use the pack as a flotation device to help you stay afloat.
However, if you find yourself being swept downstream into dangerous rapids and unable to make it to shore right away, you might have to make the hard decision and let your pack go.
In this situation try to position yourself on your back with your feet facing downstream. This is so that if you happen to collide with debris in the river, your feet will take most of the hit as opposed to your head. Since you released your pack now you can try and use both arms to swim back to shore.
Once you get back to shore, your priority should be to change out of your wet clothes and try to get as warm and dry as possible so that you don’t put yourself at risk for hypothermia. This could even mean building a fire.
If you had to let go of your pack and you’re hiking solo, you’re now in a survival situation and your main priority should be to get help.
In Conclusion
As you can see fording a river isn’t something you should take lightly. To do it safely, it takes good preparation, knowledge of how a river works and having a solid understanding of crossing techniques.
Every year people lose their lives by making poor decisions when crossing rivers. Hopefully, this article will help you gain some insight into how to ford a river safely and grow into a seasoned backpacker.
Do you have a question about how to safely ford a river? Leave a comment down below
Disclaimer
Some of the links above are affiliate links. If you click on them and purchase an item, I'll receive a small commission at no extra cost to you. This helps me to continually make content and keep this site going. Thanks for the support!